Summer Gardening: A Family Affair
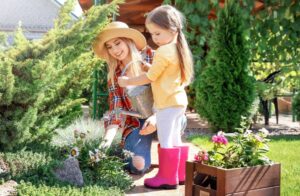 Summer is that time of the year when the warmth of the sun beckons us to come outside and enjoy the wonders of nature. For many of us, that means getting into the garden. The beauty of growing your fruit, vegetables, spices, and herbs is that the entire family can participate. Kids love being outside where there is plenty of room for them to run and play without worrying about breaking or knocking over indoor items. Why not capture some of that endless bounty of energy by teaching them a useful skill that will stay with them for a lifetime?
Okay, some gardening tasks require adult strength, experience, and operational skills. Children should not handle potentially harmful tools such as saws and anything with a motor and rotating parts. But, they can help with selecting what to plant, where to plant, how to pull out weeds, how to water the plants, and how to pick the plants when they are ready.
So, what types of gardening chores are family-friendly? Look at the following recommendations to find one or more ways to let everyone have a stake in your action-packed DIY weekend projects that end in eating enjoyment.
9 Family Gardening Projects
1. Labels
Children love to see their names on items. After everyone selects something to plant in the garden, let the young ones decorate some of our eye-pleasing, unique stepping-stones/ stepping stones with the name of the plant and the name of the person who picked the plant. This way each person will know who is going to take care of that part of the garden. After the plants have been picked, you can save and use the stepping stones next year with new decorations.
2. Selecting the Site
Depending on the amount of ground you have available for gardening, you may want to select one large area for all the planting or several smaller areas placed near a fence or closer to the house. Once the sites are identified, the children can outline the area with any of our decorative gravel, pebbles, or stones.
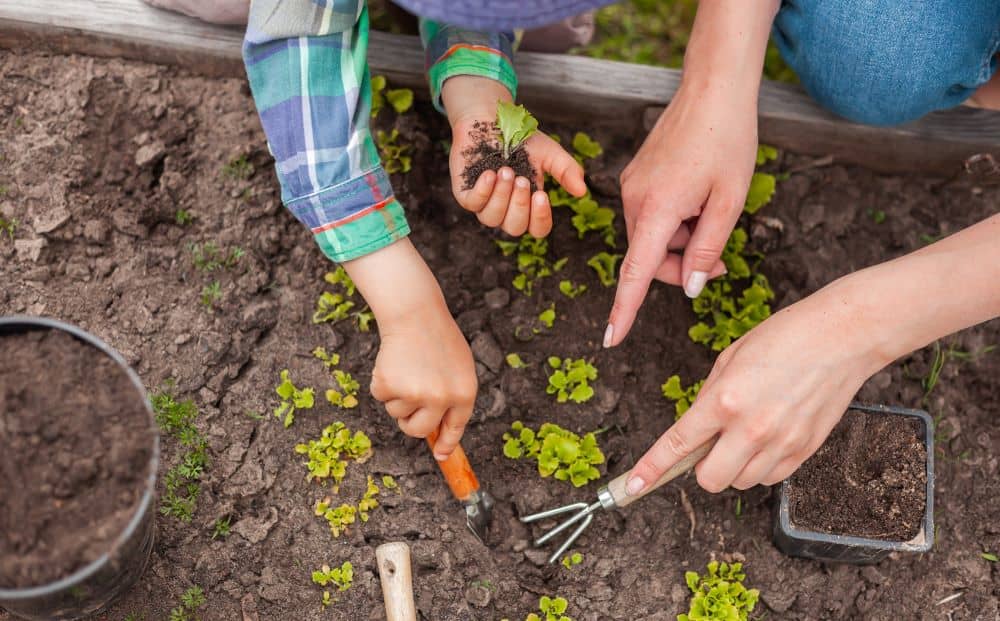
3. Soil Preparation
Always read the labels on the seeds or starter plants to see how to prepare the soil for planting. We offer a full line of easy to handle bagged soil enhancing products to make your garden flourish with a cornucopia of healthy, tasty, and colourful vegetables and herbs. You can use a large tub or planter box where the children can mix the products with the soil by using their hands or a child-sized rake or shovel.
Half of all outdoor fun for the kids is in getting their hands and clothes covered in dirt. And you’ll have fun by letting them help you make the magic dirt that will let the plants grow strong and healthy. Another task where your kids can help is to show them how to prepare the planting ground by pulling up any visible weeds. This would be the time to explain how weeds can keep the plants from growing strong.
4. A Pizza Patch
Imagine baking a pizza that is topped with your homegrown seasonings. This garden project gets the whole family involved. You want to have a moderately large, sunny location for your Pizza Patch.
Follow these steps to create the shape and planting tasks:
- Step 1: Clear an oval pizza-shaped circle for the planting bed.
- Step 2: Divide the circle into pizza slices by using small pebbles, wood slabs, or some lengths of cord.
- Step 3: If your pizza patch has 6 slices, select a different herb or spice to plant in each slice. The same applies if your pizza patch has 8 slices. Be sure to read the planting information to know how much space to place between each plant and what the watering needs are strong roots and healthy growth. Typical pizza seasonings that love sunny locations and are easy to grow include oregano, basil, rosemary, thyme, parsley, sage, bay leaves, and fennel. You can be as creative as you want when it comes to which seasonings you like on your pizza. Because tomatoes need more space than one of the pizza slices allows, you may want to grow your tomatoes in a separate space.
- Step 4: Plant the seasoning selections in the ground at the depth recommended on the package or starter plant. This is the time to mix the soil with one of our excellent potting soils or fertilizers as the plants are placed into their summer beds.
- Step 5: Sparingly water the new plants and the soil to give them a good start. You don’t want to over-water the tender roots or the new seeds. Once the plants start to grow, avoid watering the leaves as they can burn in our strong summer sunlight.
- Step 6: Periodically enhance the growing beds with the recommended nutrients necessary for each type of plant.
- Step 7: Edge the Pizza Patch with decorative stones, pebbles, or flexible plastic rods. You can identify what is placed inside each slice by placing a decorated stepping stone with the plant name painted on it just outside the edge of the slice.
- Step 8: Key an eye on the Pizza Patch for unwanted weeds and clear them away as soon as possible.
- Step 9: Pick the plants as they mature and then either use the fresh clippings or dry out the herbs for use throughout the year.
5. A Secret Hideaway
Everyone enjoys having a private little space where they and go to be alone or to share with a friend. Sunflowers are the perfect garden plant to create a secret hideaway. Sunflowers are sturdy plants and grow tall. Select a place where you can stake strong trellis-style supports to guide the sunflower growth to form an arch for the hideaway. Your children can place an outdoor mat on the floor of their hideaway. You’ll be rewarded with the laughter you hear coming from this special place.
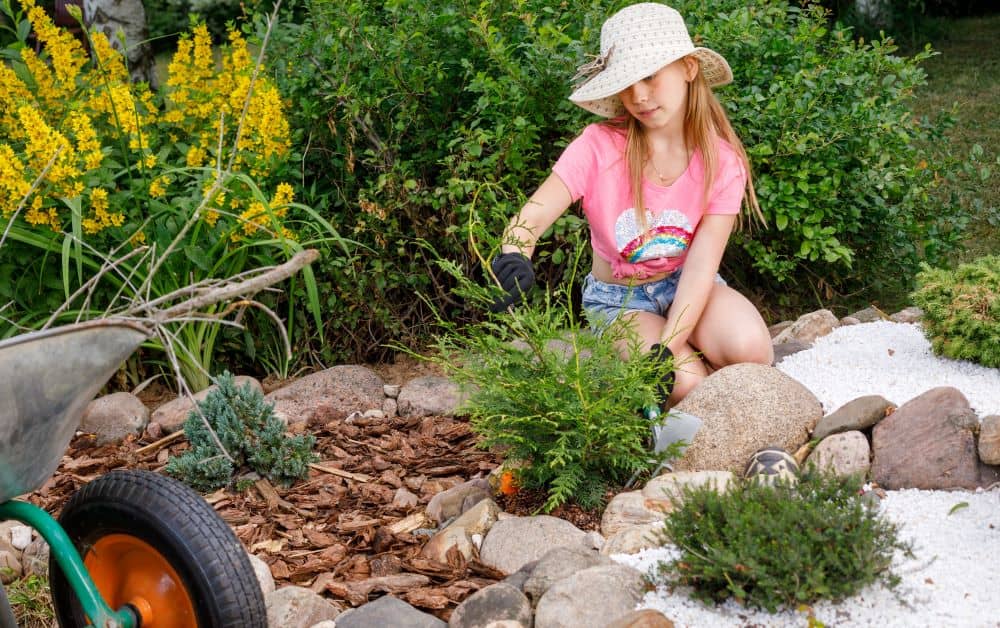
6. A Rock Garden
If you have a small corner space that is too small to use for plants, you might want to use this area for a rock garden. After you have cleared the area of weeds, you can fill your special rock garden with our eye-pleasing Rainbow Stones or with other stones and pebbles that the family has collected from field trips. The rock garden can be a special quiet place where anyone can go to just sit and enjoy the outdoors. Each member of the family can have their lawn chair placed around the edge of the rock garden.
7. Hanging Baskets
Decorating your yard, patio, or pool area with hanging flower baskets is a wonderful way for your children to instantly see the fruits of their efforts. Let everyone pick a flower that will easily grow in a basket. Smaller plants are easier to maintain than tall, wide blooming plants. Everyone can line their basket with mulch, bark pieces, or straw, add some potting mix, plant the flowers, and then you can hang the baskets around the ground on poles, hooks, or stakes. Hanging baskets add a burst of colour to your outdoors and your children will have visual pleasure every time they go outside.
8. Flower Pots
If you don’t have lots of gardening space but want to create a family-friendly project, try placing colourful flower pots around your property. The children can decorate the outsides of the pots before planting flowers inside the pots. Because enclosed pots will retain moisture, you may want to use pots with several holes for drainage and place them on planting saucers. Fill the pots with the recommended planting fertilizer and soil, and then place the flower plants inside the pots. Let the children decide where to position the flower pots so that they can both see and take care of their flowers throughout the summer.
9. A Sand Pit
As dry as the soil may be in our local area, it isn’t ideal for a sandpit. Once the family has decided how large the sandpit will be and where it will be located, you will need to clear the ground, dig down several centimetres, and place an edging of limestone pavers or stepping stones to keep the sand in place. You can fill the prepared pit with our clean, pest-free, White Washed Sand.
A sandpit provides hours of outdoor fun for your children and their friends. Because you may not welcome any of the sand coming indoors, you can have a handy portable vacuum placed by the back door to collect all of the sand that didn’t get brushed off when the kids left the sandpit. If the vacuum is only used to collect sand, you can recycle the collected sand back into the sandpit. We recommend that you buy a roll of builders plastic to cover the sandpit when it is not in use.
Whichever family project you choose to enjoy, you’ll find all of your gardening supplies here at Bibra Lake Soils. If you have any questions on which supplies will work best for your personal property, we invite you to call us at 08) 9434 2290 to talk with one of our friendly, professional, and knowledgeable staff members. You can also email us at info@bibralakesoils.com.au, or visit us at our shop located at 222 Barrington St, Bibra Lake WA 6163. We are conveniently open 7 days a week for your soil needs.

